 Step 1: PATTERN PIECES
Draw your pattern pieces according to the desired measurement. Tape the pieces at the dotted lines. Pin the pattern pieces to the fabric/interfacing and cut the pieces.
Step 2: INTERFACING
With raw edges aligned, pin the canvas fabric to the wrong side of the exterior fabric. Baste it in place a quarter of an inch away from the edges. Basting stitches are long, easily removable stitches.
Step 3: THE SNAP
Attach one half of the snap to the exterior fabric 2.75 inches from the bottom edge. Attach the other half of the snap to the lining 1.25 inches from one short edge.
Step 4: FINISHING
With the wrong sides facing out and raw edges aligned, pin the lining to the exterior fabric. Make sure the snaps are on opposite sides. Stitch half inch seams along all four edges. Reach through the opening and pull the clutch right side out. Fold the raw edges of the opening in and pin. Press all four sides of the clutch for a more finished look. Topstitch along the short edge, closing the opening along the way.
Step 5: ADMIRE YOUR WORK!
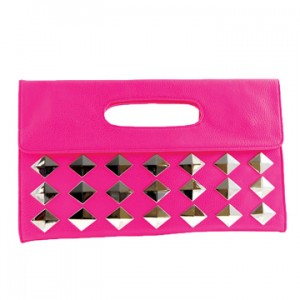
You can now embellish your clutch with a fabric flower, metal studs, buttons or lace.
SUPPLIES YOU WILL NEED
- Exterior fabric or faux leather: 1/3 metre
- Lining fabric or faux leather: 1/3 metre
- Canvas fabric: 1/3 metre
- 1 magnetic snap
- Metal studs/fabric flower
Volume 1 Issue 9


